How to Remove Links from Your Steel Bracelet?

A watch whose bracelet is not properly adjusted to your wrist is of little use. Here is the method for removing one or more links from your steel bracelet to shorten it.
A tip to start with: there is certainly a sweet spot between wearing it “loose” like a curb chain and wearing it snug right up against the wrist—something you’ll find more easily by trying your watch on the opposite wrist from the one you usually wear it on.
How many links should you remove?
You will almost certainly need to remove one or more links. If you need to take out two, there’s no issue in terms of keeping the watch head centred relative to the bracelet.
However, if you need to remove an odd number of links, remove the extra link on the 6 o’clock side. For example, if you need to remove 3, take one link off at 12 o’clock (above the dial) and two at 6 o’clock. This trick makes it easier to read the time, since you tilt your wrist towards you to check it.
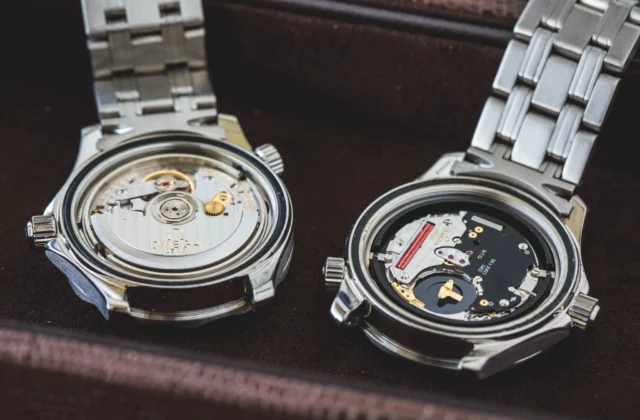
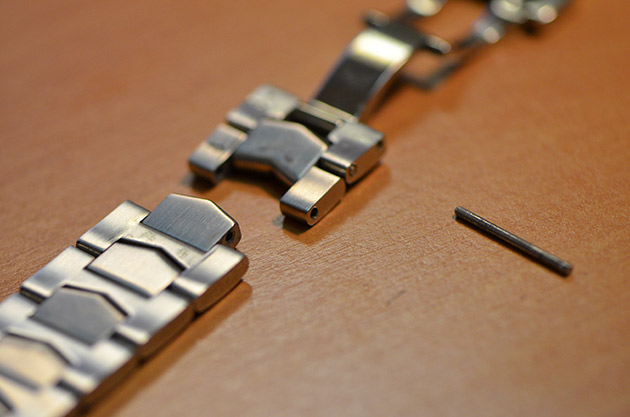
Let’s assume your bracelet uses push pins, like the vast majority of steel bracelets. To be sure, look on the inside of the bracelet: you should see arrows. If there are no arrows, examine the pins, which should be rounded on one side and have a groove at the other end.
Screw-link bracelets have bars with grooves at both ends.
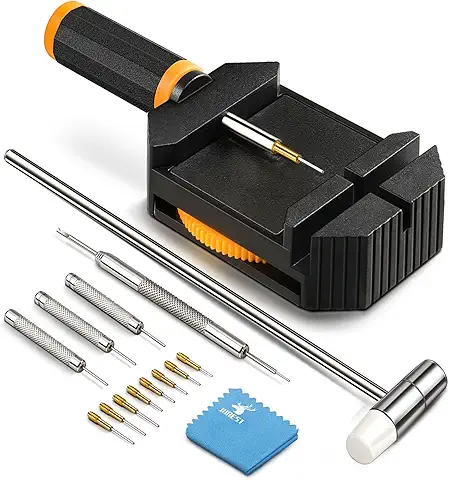
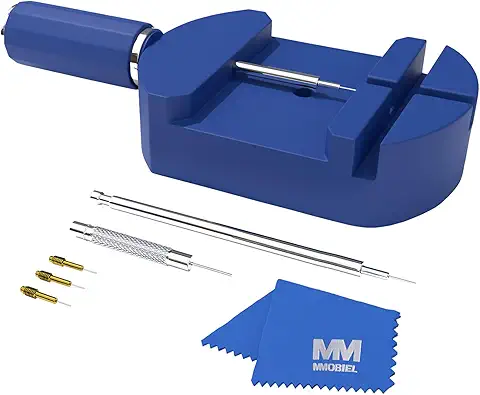
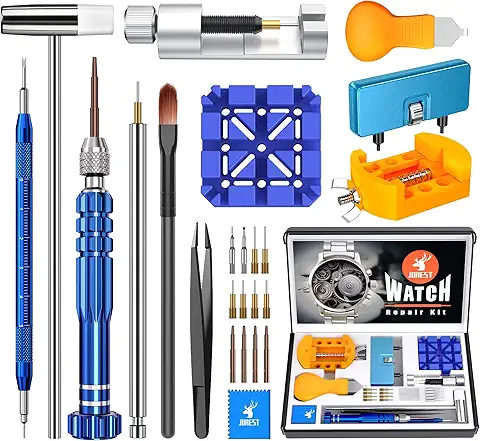
Tools
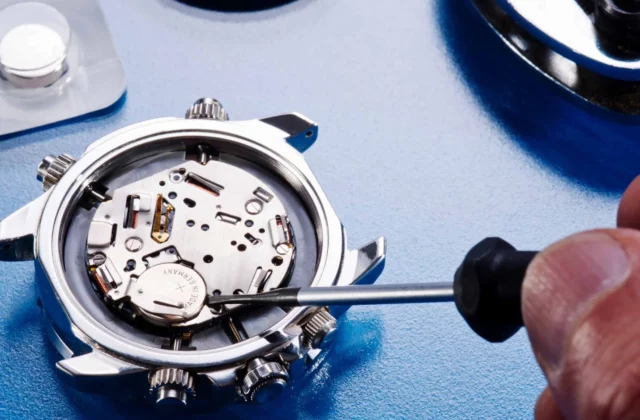
The small case in the photo is a very handy tool for removing pins, but you can also use a simple pin punch (a fine steel point).
You’ll find inexpensive kits on Amazon by CLICKING HERE
Removing the pin
Look at the inside of the bracelet and clearly identify the direction of the arrows, which indicate which way to push the pin.

Insert the bracelet into the tool, facing the pin punch. The rounded side of the pin should be facing the tip of the punch.

Turn the screw until the pin is halfway out, then pull it out by hand or with pliers.

Release the link and repeat the operation with the next link if necessary.

Reinstalling the pin
Turn the bracelet over again to clearly identify the direction of the arrows.
This time, you need to push the pin in the opposite direction to the arrows, inserting the rounded end first so that the grooved side ends up opposite the arrow, as shown in the photo.

Finish with a gentle turn of the screw to seat the pin fully in the link.